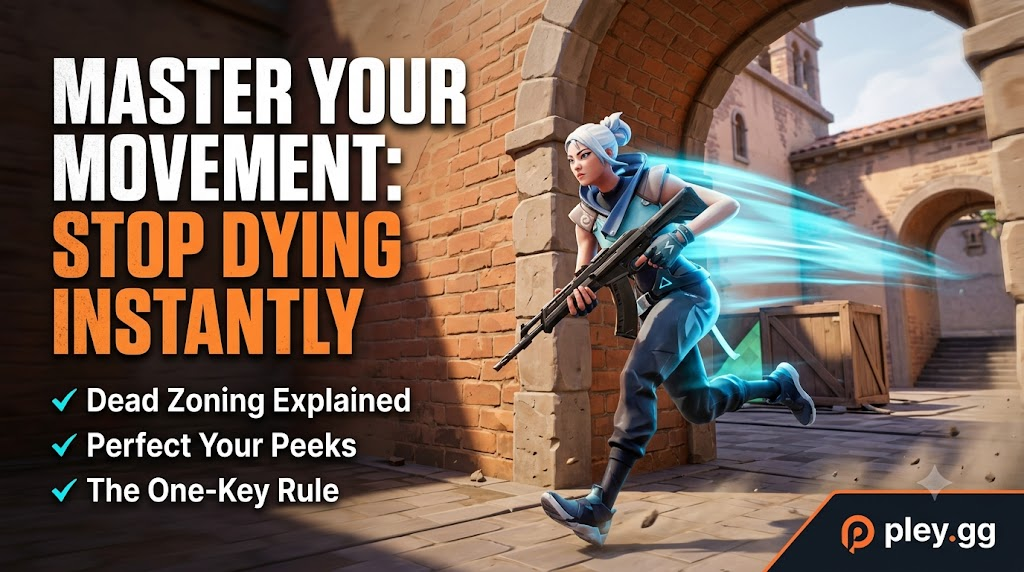






You’ve spent hours in aim trainers, you’ve perfected your crosshair placement, and yet, you still get instantly headshot the moment you peek a corner. If you are constantly losing duels and can’t figure out why, your aim probably isn’t the problem—your movement is.
In VALORANT, movement exists to make you a harder target to hit while simultaneously setting up your aim. Here is a complete breakdown of the hidden movement mechanics that separate average players from Radiants.
Counter-Strafing vs. Dead Zoning
The community constantly argues about how to stop and shoot, but to master VALORANT movement, you need to understand the difference between these two core mechanics.
Counter-Strafing (The CS Import) Counter-strafing is a legacy mechanic from Counter-Strike. If you are holding ‘D’ to move right, you quickly tap ‘A’ to cancel your momentum and stop instantly. While this does help you stop slightly faster in VALORANT than just letting go of the key, the benefit is minuscule compared to CS.
Dead Zoning (The VALORANT Standard) Dead zoning is what you should actually be practicing. When you switch directions (moving from ‘A’ to ‘D’), there is a brief 150 to 200-millisecond window where your character’s velocity hits absolute zero. If you fire a bullet within this exact window, it will have 100% perfect standing accuracy, even though your character never actually stopped moving.
The timing for this is incredibly tight. Getting a physical feel for your hardware makes a massive difference here; the tactile feedback and distinct keycap sounds of a solid mechanical board, like a GravaStar Mercury K1 or a Redragon, can actually act as an auditory metronome to help you lock in that exact 200ms rhythm.
The One-Key Rule (Stop Crab Walking)
Before you try to dead zone, you have to eliminate the most common beginner mistake: pressing ‘W’ while peeking.
When clearing an angle, you should only ever hold one movement key at a time (‘A’ or ‘D’). Moving diagonally (W+A or W+D) creates two massive problems:
- You move slower on the enemy’s screen: Diagonal movement reduces your lateral speed, making you a significantly easier target to track and snipe.
- It ruins your stopping timing: If you are pressing two keys, you have to successfully release two keys to stop. This completely breaks your ability to execute a clean dead zone.
Mastering Peeking Techniques
Different angles require different peeks. Knowing which one to use dictates whether you get a kill or throw the round.
- The Jiggle Peek: A quick in-and-out movement used strictly for gathering information. You only expose yourself for a fraction of a second. Do not use this to commit to a gunfight.
- The Shoulder Peek: A tighter version of the jiggle peek where you only expose a sliver of your agent’s shoulder. This is the best way to bait out an Operator shot without risking your life.
- The Wide Swing: When you are ready to commit to a duel, swing wide. Players naturally hold their crosshairs close to the wall. By wide-swinging, you force them to make a massive, uncomfortable flick.
- The T-Rule: To make your wide swing infinitely better, step two paces back from the wall before swinging. This allows your character to hit maximum velocity before you appear on the enemy’s screen, rather than accelerating while they are already looking at you.
The Truth About Crouching
Is crouching a bad habit? Yes and no.
Crouching is highly effective in an isolated 1v1 duel. It physically lowers your head, throwing off enemies with good crosshair placement, and tightens your weapon’s recoil spread.
However, making a habit of crouching in every gunfight is a death sentence. Crouching commits you to the fight entirely. If there is a second enemy, or if you miss your initial burst, you are now a completely stationary target with no ability to strafe back into cover. Use it intentionally, not automatically.
How to Actually Practice
Mindlessly grinding Deathmatch will only reinforce your bad habits. To actually improve your movement, head into the Practice Range or a Custom Game with a specific goal.
Pick Sage, put a wall in front of the practice bots to simulate real map geometry, and practice cleanly isolating one bot at a time using only your ‘A’ and ‘D’ keys. Turn on the movement error graph in your crosshair settings to get instant visual feedback on whether your dead zones are perfectly timed.
